Mind of Madness Intrepid Adventure
This guide is in no way complete. Please contact me for things I am missing. You will be Credited.
Mechanics for all bosses in the T3 raid along with images, the nexus adds, and more can be found here, so if you find anything missing on this page, it may be in the original guide.
Table of Contents
Pagura Objectives

|
|
Golems: You might get a quest that says to use a flamethrower to melt the ice souls (Golemns). Use the reactive you get on them. Some of them might come alive and attack you. Others will die.
Kill 8 Waves of Sea Caps: There will be 8 waves with approx. 20 or so sea caps in each spawning. AOE them down.
Kill 8 Waves of Sea Caps: There will be 8 waves with approx. 20 or so sea caps in each spawning. AOE them down.
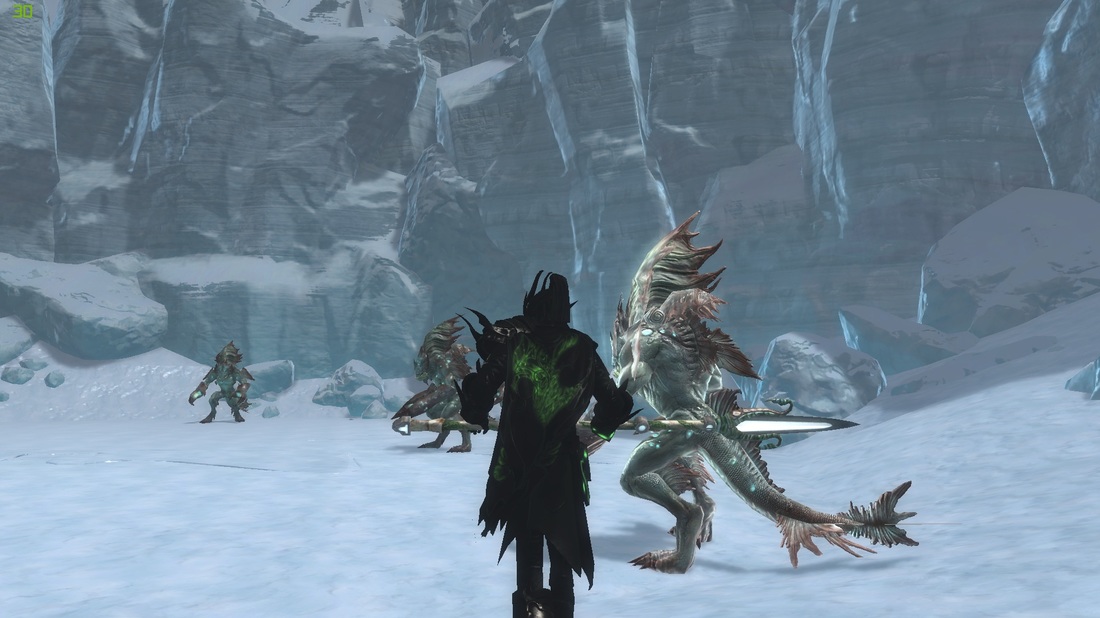
Pagura
Curse of 5: There will be five cone shaped AOEs on the boss’s legs. Unlike the raid you want to simply avoid them.
Hex of Spite: 4 Second cast. Interrupt this or you take some damage.
Shattering Roar: "Pagura begins drawing in its breath, disturbing the Ice Souls." AOE heavy damage. 15 seconds cast time. Will cause serious damage to everyone in line of sight at the end of the cast. Players need to LoS the boss behind the pillars that spawn.
Brachy/Crustok: You will take heavy raid damage. Whoever you are, please heal. There's a mechanic with defensive blast and switching back and forth, but nobody's going to do it. Just kill one as a group, then the other as a group. If you get a red AoE on you (called Pain Bringer) get away from people.
Okadaic Poisoning: If you see green swirls around you, get away from other people.
Lord Arak Objectives
|

|
Harpies and stuff: Just kill them (They are called Dark Tidings). 3.1 million HP each.
Pick up Crystals: There will be crystals spawning. Some will knock you back, some will fear you, and some will stun you. Pick them up.
Pick up little purple sparkle things: you need to kill the purple ghosts that spawn. They drop 3 of the purple sparkles each. Pick them up and kill some more. They have a couple hundred thousand health.
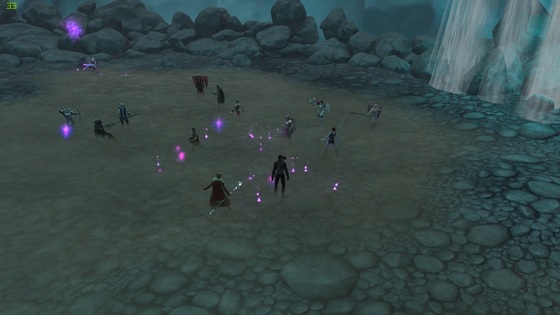
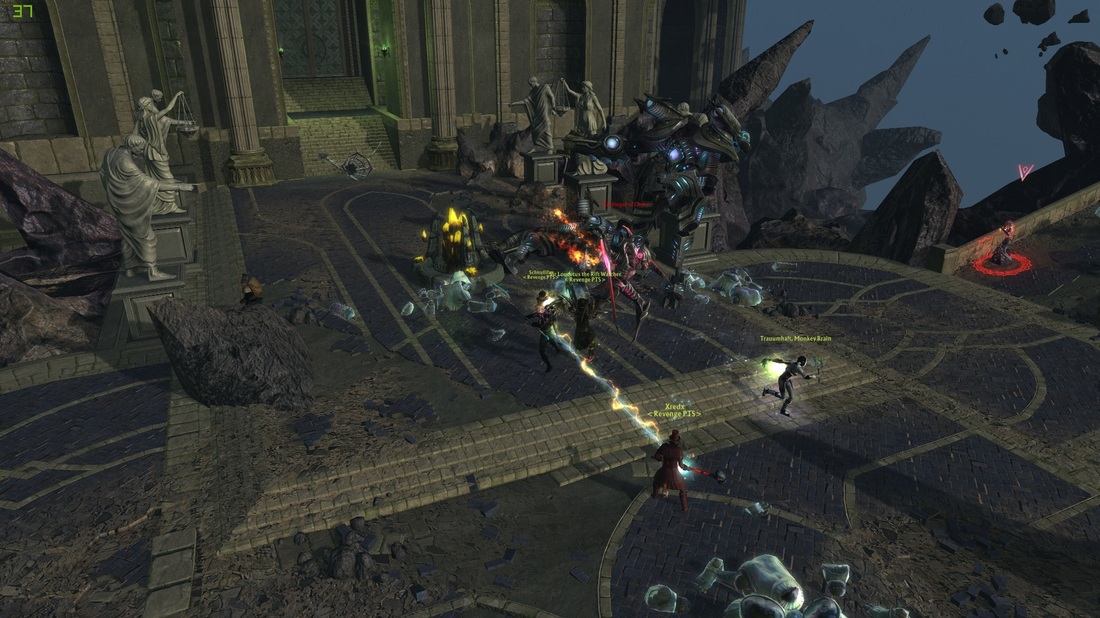
Lord Arak
Safe Cone: ALWAYS stay inside of the safe zone (The white zone). Avoid the bubbles that spawn with crystals inside. They’ll do things that aren’t good to you.
Terminal Sedation: This is usually placed on the highest DPS. Interrupt it or he puts a DoT on that person. It won't kill them if you have a decent healer, but it's still good to interrupt it.
Shield of Darkness: This places a shield on the boss. Interrupt it, purge it or use the reactive you get during this phase.
Bubble Phase: This comes with the Divide and Conquer phases. You'll see bubbles on each side. You'll see the bubbles start to move around and you'll be able to spot a melee and a ranged space in the bubbles. Get in one of those empty spaces. Once won't kill you, but you'll get a debuff. If you miss the second one you probably will die....and then just hop down into the pit again.
Divide and Conquer: Comes as only one giant cleave. Get out of it. It’s not hard, you have over 7 seconds.
Fauxmire Objectives
Kill Fireflies: Kill the Fireflies. Little ones have 270K health or so. Empowered ones have around 2 million.
Kill Forest Lurkers in the Unknown: Big green guys who look like Groot (kind of). Kill them. No special attacks.
Plants: You receive a reactive. Use to reactive and throw it on the plants (It’s a ground target thing).
Repair Gravity Stabilizers: These are little power core things you need to right click on to repair.
Gravity Stabilizer
Fauxmire
Sun Beams: Interrupt this. Will hurt the player with aggro. 2-3 second cast.
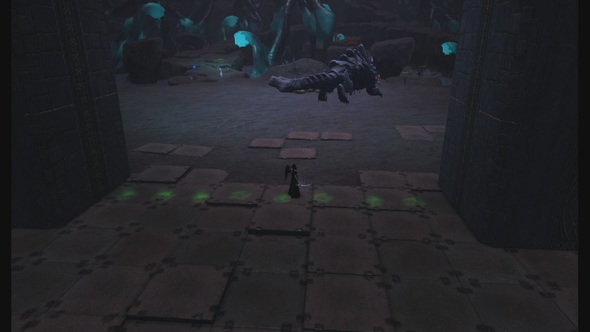
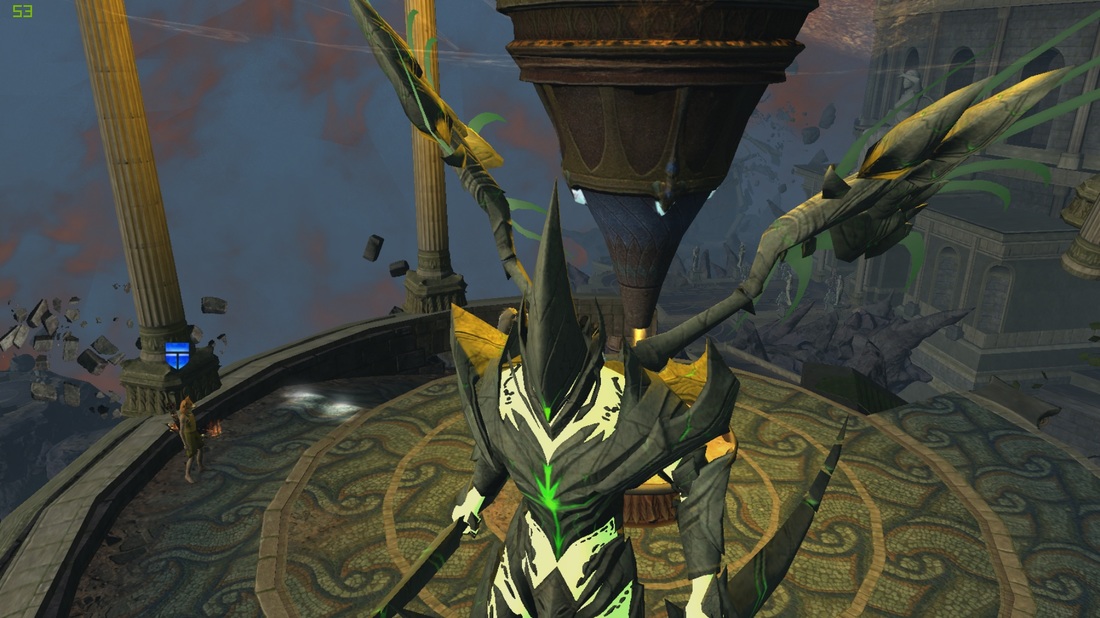
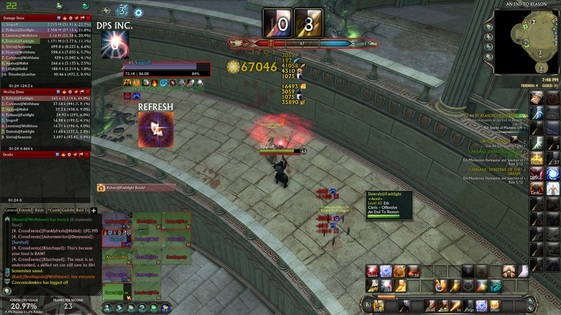
Pac Man, adds, and red AOEs: Avoid them. You used to be able to pull him to the other room to avoid playing pac-man/frogger, but they tethered him to the room. Now you move him to the edge of the room to avoid it. See in the image below where to stand.
Pac Man, adds, and red AOEs: Avoid them. You used to be able to pull him to the other room to avoid playing pac-man/frogger, but they tethered him to the room. Now you move him to the edge of the room to avoid it. See in the image below where to stand.
Enigma Objectives
Pathraxis
Mobs: Kill them. There are little sewage slime balls you have to kill.
Defend: There is a quest to defend the ward against the invaders. AOE them down. You need a couple of healers for this.
Kill Shadow Stalkers: Beasts with two tails you need to kill. 22 normal and 5 empowered for a full IA group.
Kill Pathraxis: This is a mini boss preceding Enigma. His mechanics have no significant effects.
Enigma

Breaking End: Interruptable cast. Kills people.
Sunder: Get out of this. It is a 180 degree cleave.
Overwhelming Force: Heavy ST damage on his target.
Emission of Turmoil: 3s cast followed by 4 channel. Causes raid damage.
Chaos Flames: Drops three consecutive small AoE's on the tank. Just side step each one as it comes.
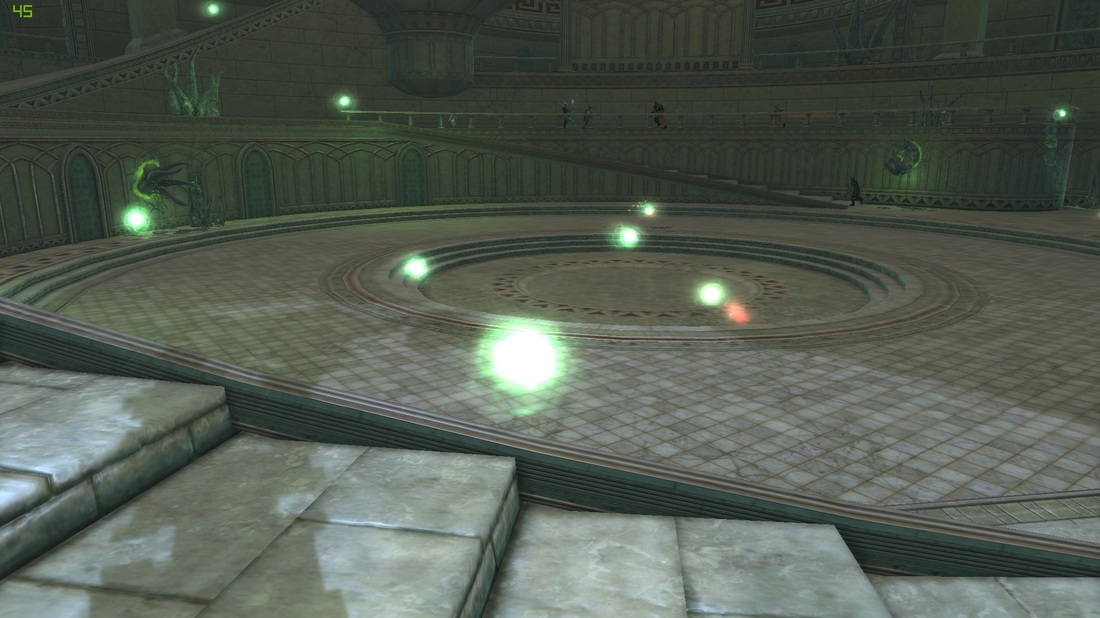
Pandemonium: Enigma will spawn a white circle.You have 15 seconds to get into the circle or take heavy damage. After this, he will do his huge cleave on the circle. Get out of it (You have 10 seconds to run out)
Sunder: Get out of this. It is a 180 degree cleave.
Overwhelming Force: Heavy ST damage on his target.
Emission of Turmoil: 3s cast followed by 4 channel. Causes raid damage.
Chaos Flames: Drops three consecutive small AoE's on the tank. Just side step each one as it comes.
Pandemonium: Enigma will spawn a white circle.You have 15 seconds to get into the circle or take heavy damage. After this, he will do his huge cleave on the circle. Get out of it (You have 10 seconds to run out)
|
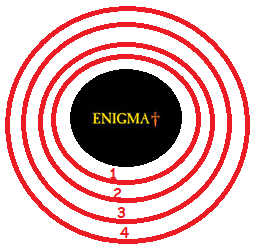
Summon Chaos: Red bubbles will spawn and slowly move around the room. There's always a row where they don't show up for a while. Find it quickly but be ready to move if that row changes. You'll see a stationary bubble for about 5 seconds when a lane shift is happening. There are four lanes. Have someone calling out which lane, 1-4.
Kill the purple stones at the end. DO NOT JUMP OFF OF THE PLATFORM WHERE ENIGMA IS. IT IS NOT AN ELEVATOR. |
|
Lady Envy Objectives
|
|
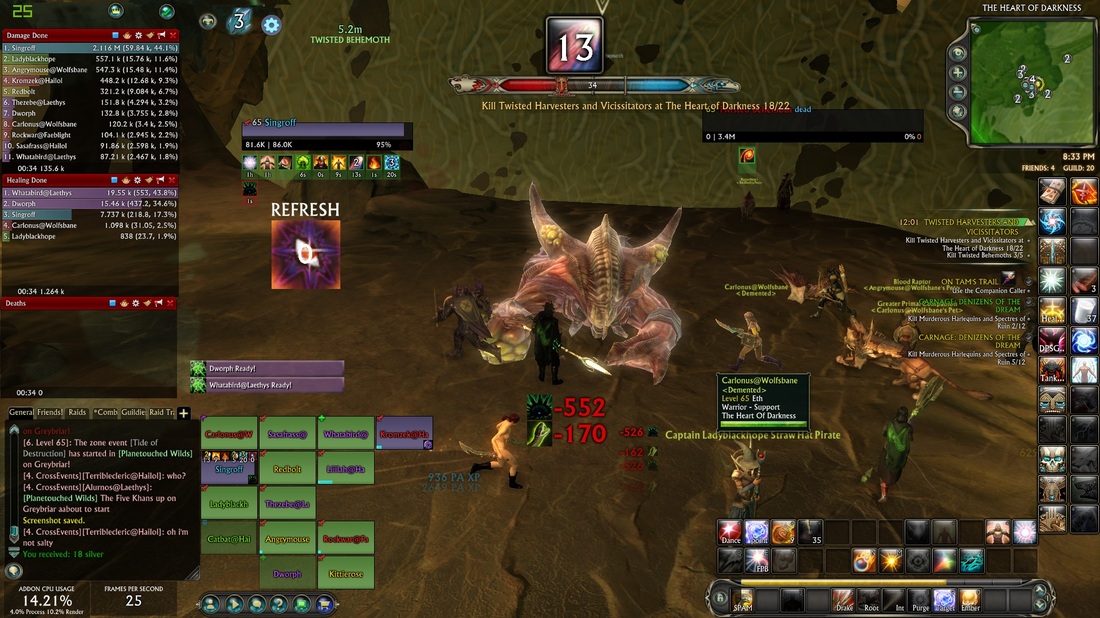
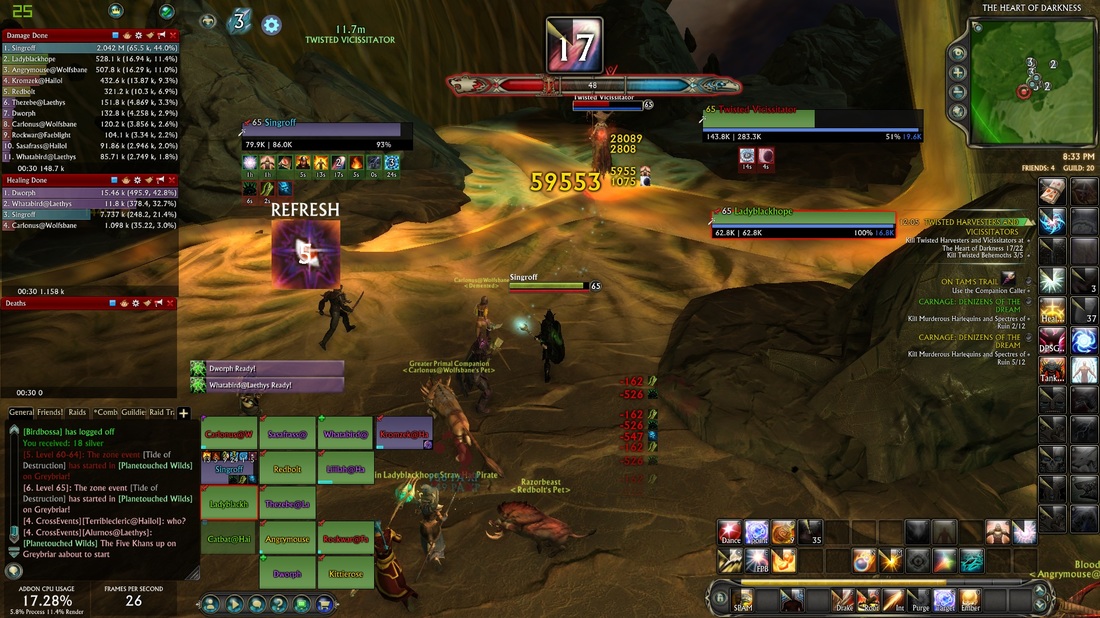
Kill Adds: Kill whichever adds the quest calls for. Most have 270K and 3.4 million HP. They are called Twisted Vicissitaters and Twisted Harvesters.The Twisted Behemoths are the adds with 3.4 million HP.
Eggs: One quest will have you knock over eggs. Knock them over, and kill the little bugs that spawn. Upon their death, they lay down an AOE. Get out of it.
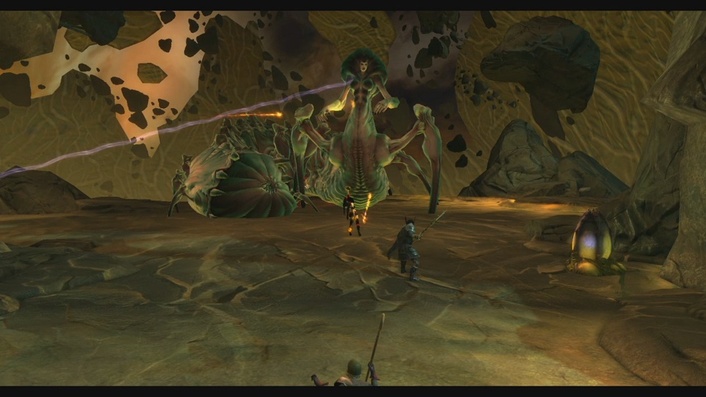
Death Breeder: There is a giant ugly worm guy (seen below) you'll need to kill. Ignore all mechanics and kill her as fast as humanly possible. As this fight goes on she will spawn more and more adds until everybody dies. Since the adds will target anybody generating threat on them they like to go after AoE healers standing at range. Have everyone stack up in her coil in melee range so cleaves and AoE can pick up the adds. It's probably possible to have a couple people switch to an AoE spec like you would do with Matron Zamira, but this is an AI, not a raid.
Eggs: One quest will have you knock over eggs. Knock them over, and kill the little bugs that spawn. Upon their death, they lay down an AOE. Get out of it.
Death Breeder: There is a giant ugly worm guy (seen below) you'll need to kill. Ignore all mechanics and kill her as fast as humanly possible. As this fight goes on she will spawn more and more adds until everybody dies. Since the adds will target anybody generating threat on them they like to go after AoE healers standing at range. Have everyone stack up in her coil in melee range so cleaves and AoE can pick up the adds. It's probably possible to have a couple people switch to an AoE spec like you would do with Matron Zamira, but this is an AI, not a raid.
Lady Envy
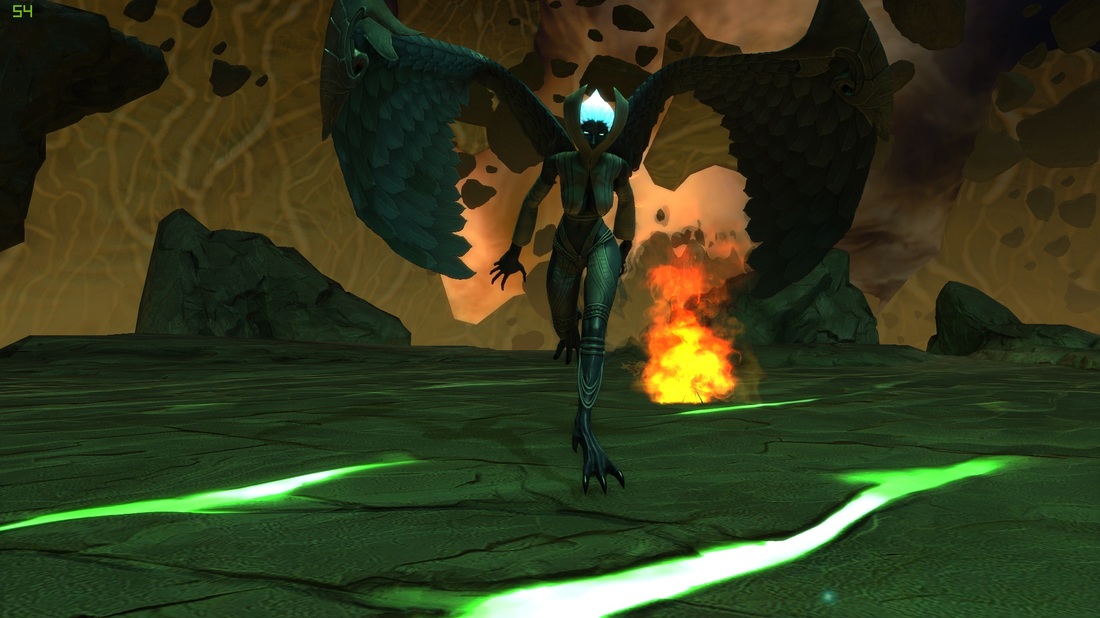
Embrace of Envy: 1.5 cast. Interrupt this. If you fail, Lady Envy will pick up 4 random players and deal heavy damage to them (They are stunned in the air)
Envy’s Focus: Emote: “[Player] is being focused by Lady Envy” This is a tank intercept. No intercept = Death. This tends to target healers and the next highest DPS.
Cleave: Lady Envy has a frontal Cleave.
Enthralled Oculons: Several oculons move across the room in a wave like form. Anyone who touches these will be knocked back off of the platform and will die. They always come after Enticement. There is a VERY OBVIOUS white lane (It may take you a few times to see what I'm talking about, but once you do, it's super easy to find after that point) that will protect you from the oculons. Get in it (Patch Notes 5/4).
Singularity: 10 second cast. You have until the end of the cast to get into the big white circle or you will die.
The Pillars Objectives
|
|
Kill the Adds (Golems and Discordant Justicars): The metal women cast complete heal. You have to kill them before they finish the cast. The golemns do a big cone AOE that does some damage.
Heralds of Judgement & Hands of Judgement: These adds have more health. Kill them as well (8.1 million health for a full group). These adds have the ability to debilitate players for 3 seconds.
Free the Tormented Thoughts: All players receive a reactive. Several friendly adds will spawn called Tormented Thoughts. Players need to use the reactive (It's a channel) on the adds. You can't move while using the reactive.
Collect Sandbags: There are little sandbags that show up. Right click them to pick them up. Run them to one of the towers.
The Pillars of Justice
Move Mis: Misericordia will lay down white bubbles. Move her out of these or she will heal.
Cleanse Mis: Misericordia will put a debuff on people that makes them take damage when they deal damage. Cleanse this.
Purge Vis: Vis has a buff that makes him deal more damage. Keep it purged.
Laser: There is a laser moving around the room on Viz's platform. Avoid it. It’s VERY slow.
Snap Judgement: Heavy ST damage on the player with aggro. This needs to be interrupted.
Light of Truth: Every player (On Mis' platform) will have a red AOE placed on them. Look for a safe patch afterwards because people won't stack. Having a good healer on this helps.
Lady Justice Objectives
|
|
Kill the Adds: Kill the adds. No real mechanics. These adds include:
Sparks of Madness - 2.5 million HP
Mote of Insanity - 283.3K HP
Defend the wardstone: A wardstone will spawn and Rift invaders spawn with it. AOE these down.
The Judge and The Excutioner: The Executioner has a cleave. Stay off the stairs or the platform. You'll avoid the cleave but he'll go through the wall and be unkillable. Kill the Judge FIRST because he spawns the Jury adds. The faster he dies the fewer Jury adds. Kill the Executioner after the Judge and the Jury despawns.
Lady Justice
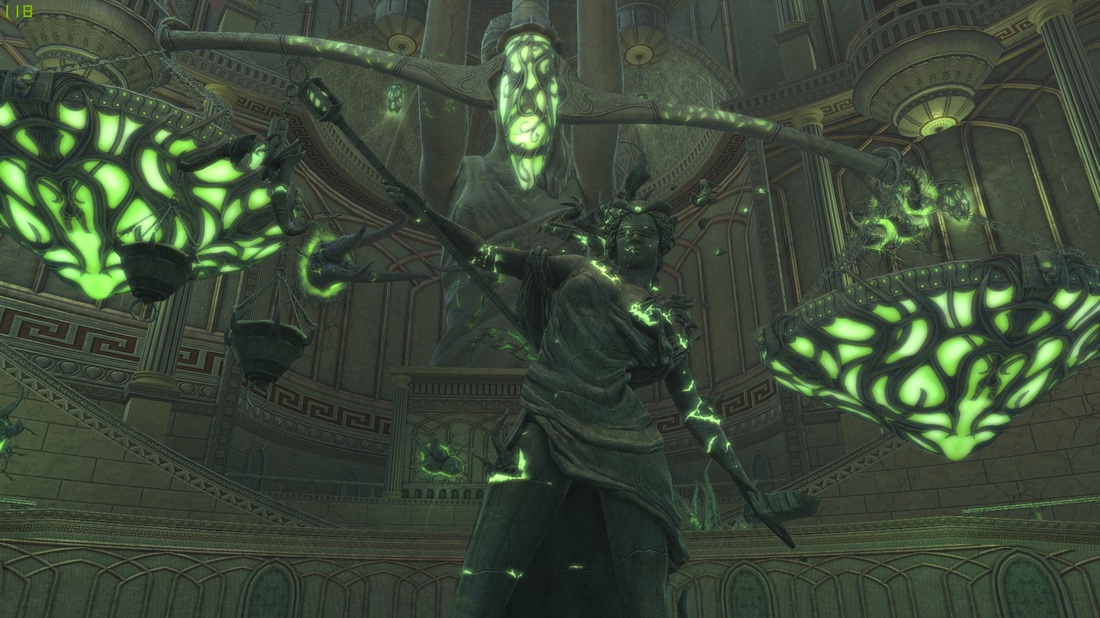
Scales of Justice (Scale Balance Display): There are two scales hanging from the ceiling accessible via the stairs in the back of the room. You can't adjust them in the IA. When this mechanic goes off there will be some AoE damage and Objections will start.
Righteous Blade: Cleave.
Objection!: Reactive ability. Removes Hasty Prosecution, Contempt or Weight of Guilt debuffs.
Swap mechanic. Prevents incoming healing at 10 stacks. Removed by Objection! (inside the green bubble). Swap at 5-6.
Contempt: HP reduction on the raid. Triggered if Lady Justice leaves the inner circle of the room.
Tyrannis Veritas: AOE damage. Heal through.
Virtue of Wrath: The room will be split into 3 concentric lanes plus the inner circle. Only one lane is active (survivable to stand in ) at a time. Due to the range buff, pretty much everyone can be outside of all three red circles, ignoring this mechanic. But if you're want you're welcome to do the dance of death for raid practice.
Additionally, spawns Vigil of Wrath.
Dark Genesis Objectives
Sparks and Motes: Kill sparks and motes similar to the ones in the Lady Justice room.
Chain Event Start: Right click the urn to start the chain event leading up to Dark Genesis.
Two named adds
Left Add: Brother Brawl
Duo Diligence: Kill him before this casts or it hurts whoever has aggro.
Right Add: Ranged Warden
This add drops an AOE on the player he is aggroed to. You can reduce the quantity of fire everywhere by sticking to one general area to drop the AoE's on. Or you can simply stand still and have ssomeone heal you until he's done spamming his AoE.
The next part is running around, killing minor Genesises and healing stones while platform hopping.
- Kill the red adds
- Heal the stone
- Kill the genesises
- Heal the stone
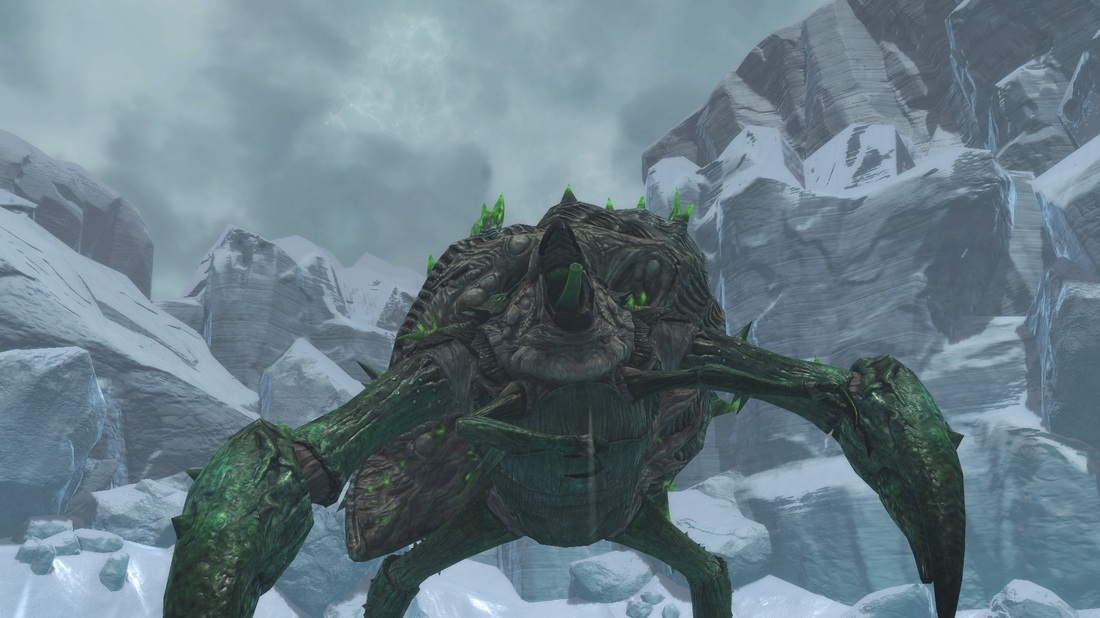
Dark Genesis
Corrupted Core: This is supposed to spawn an add that needs to be killed. It's interruptable, so interrupt it.
Ruination: Hits a random player for a chunk of their HP. It's interruptable, so interrupt it.
Have an interrupt? Use it and make Dark Genesis the easiest boss in the IA.
Ruination: Hits a random player for a chunk of their HP. It's interruptable, so interrupt it.
Have an interrupt? Use it and make Dark Genesis the easiest boss in the IA.
Arisen Arak Objectives
There really isn't much to the objectives here. You jump into the pit from Pagura and Lord Arak.
Clear the adds.
Clear the single elite
Run through the cave and fight Arisen Arak
Clear the adds.
Clear the single elite
Run through the cave and fight Arisen Arak
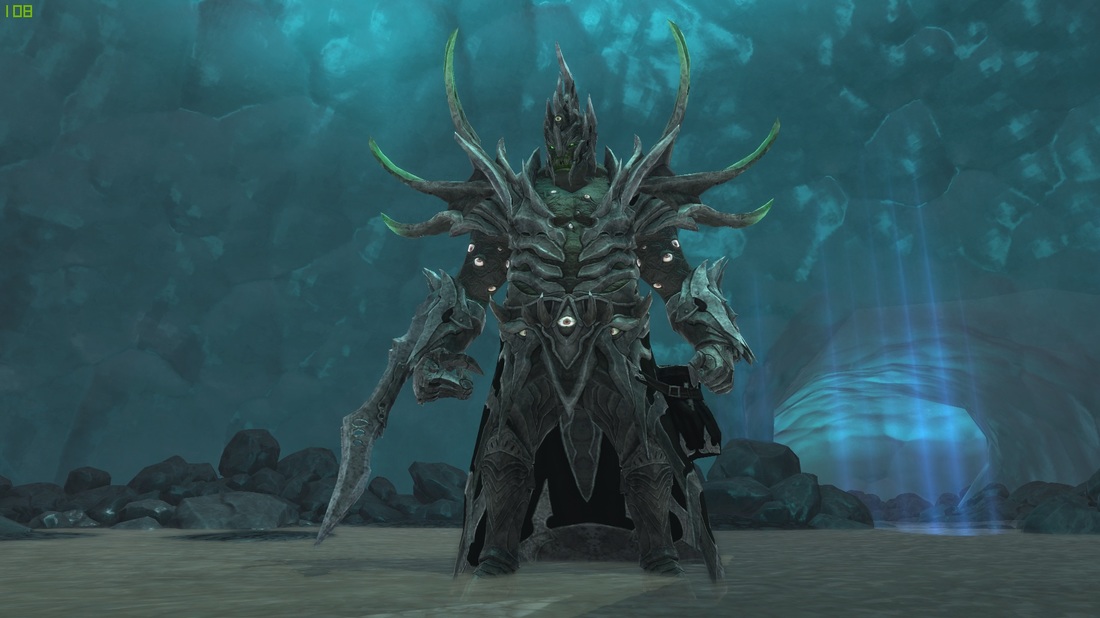
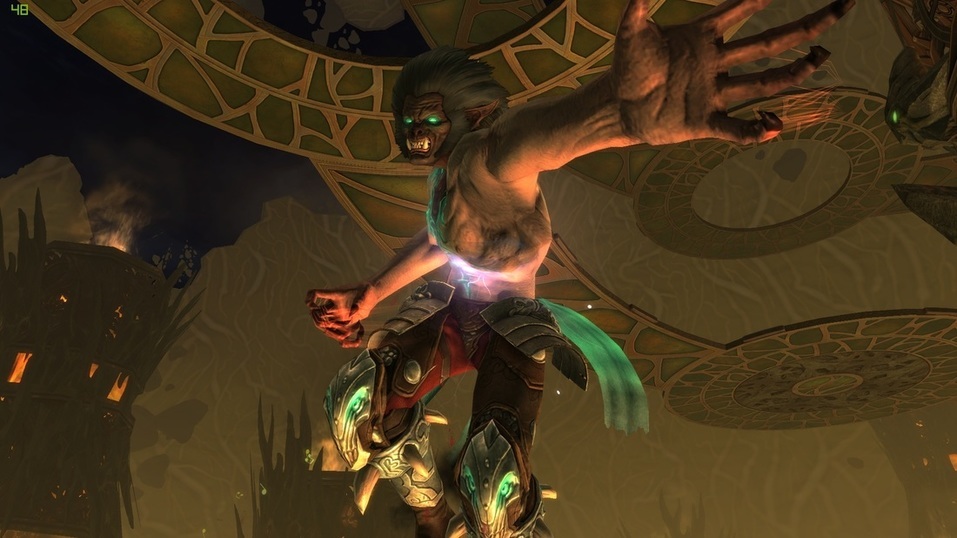
Arisen Arak

Until such time as this is fleshed out, please refer to the full guide. He does most of the mechanics and the mini-bosses are the same. Everything just hurts less.
Notes:
Nodule of Nightmare Energy - (This is currently broken on the IA. You don't have time to click the reactive and it's instant death.)
Between the second and third mini-boss Arisen Arak will do a cast that requires you to jump into a green Ethereal Pocket circle or die. Right after the cast you will gain a reactive to jump in the nodule and basically "pop the big green puss filled zit". All you see here are assholes and elbows but you have about a minute to help Arisen Arak with his hygiene problem or die. It's rather disorienting.
