Normal Mode and Hard Mode
Normal mode is for newer players or first timers. The bosses in this mode have 4 million HP. They do not have one shot mechanics.
Hard mode is for experienced players. The bosses in this mode have 8 million HP. They have several one shot mechanics.
Hard mode is for experienced players. The bosses in this mode have 8 million HP. They have several one shot mechanics.
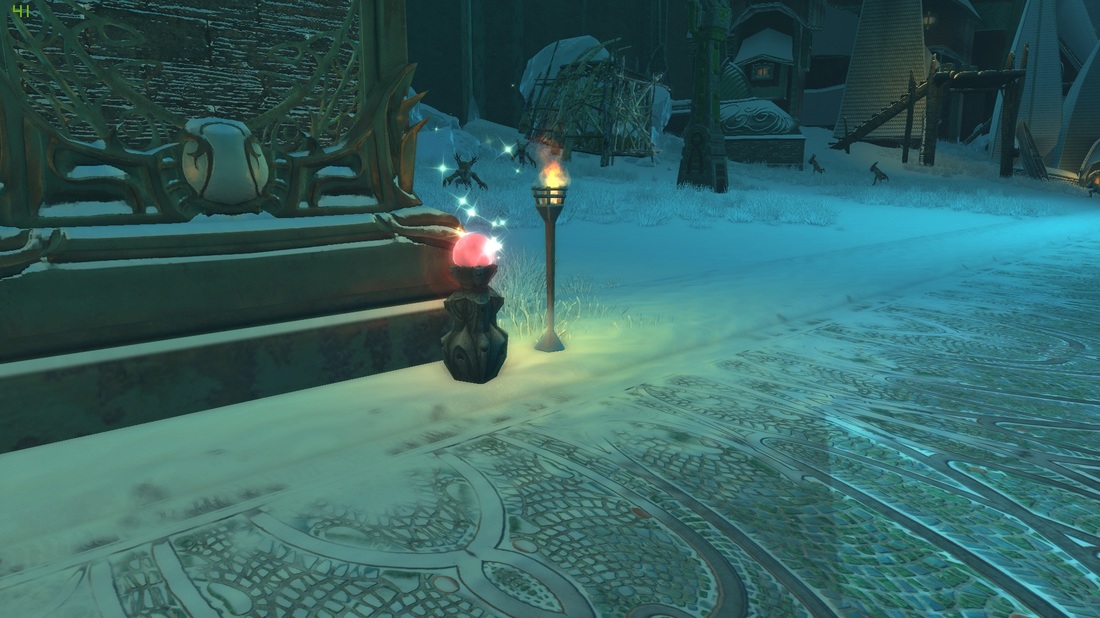
USE THIS TO ACTIVATE HARD MODE
|
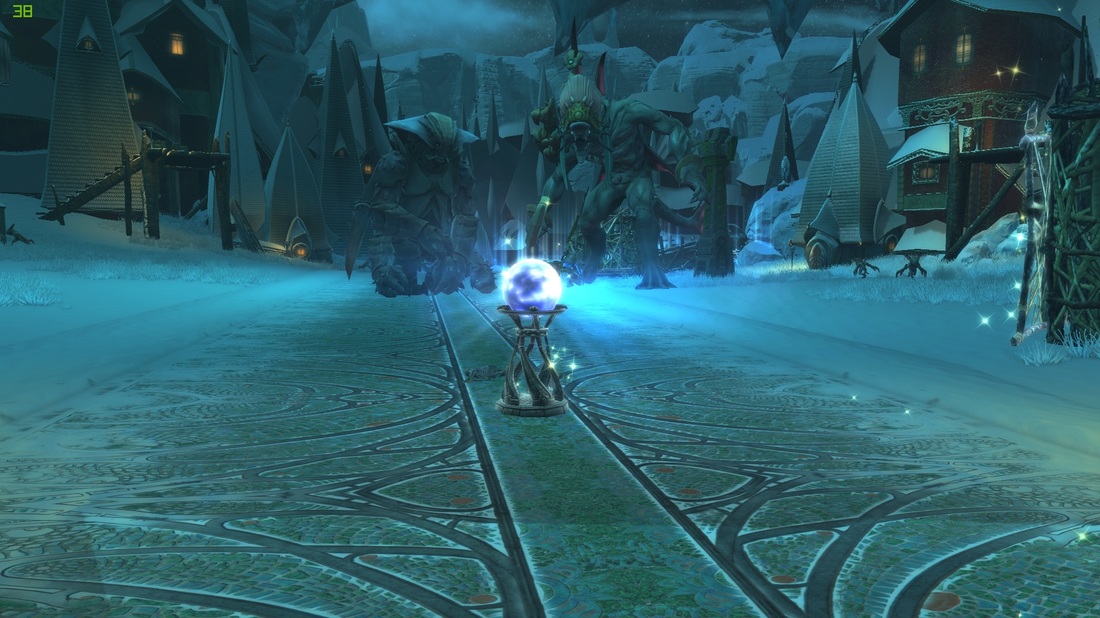
USE THIS TO SKIP DIALOGUE/STORY
|
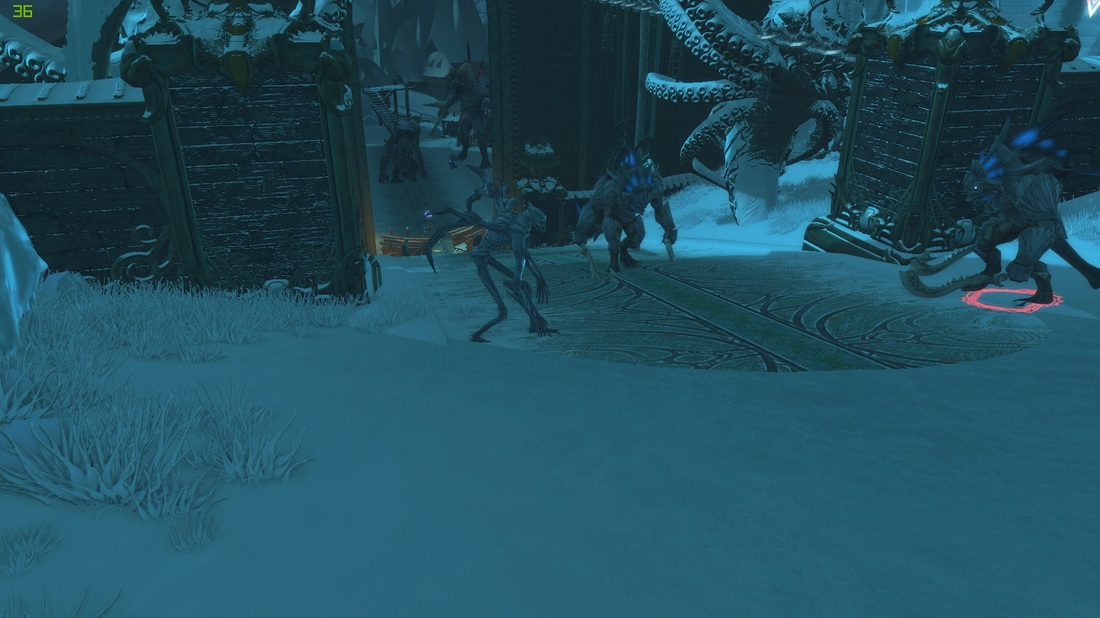
Trash Mobs
Ungolok (4.o Million HP on Normal Mode; 8.0 Million on Hard Mode)
Oonta and Weyloz (2.0 Million HP each on Normal Mode; 4.0 Million on Hard Mode)
Comrades Near/Apart: A circle will spawn around Weyloz while he is on the platform. A blue circle indicates the "Comrades Near" buff. You need to pull Oonta into the blue circle while it is visible. A red circle indicates the "Comrades Apart" buff. You need to pull Oonta out of the much larger red circle that spawns. Failure of these mechanics result in AOE damage to players.
Syphoning Orbs: Purple orbs will spawn around the room. These orbs need to be pulled to the boss. You run through one of them, and then run into melee range of the boss.
After Oonta Dies: After Oonta dies, Weyloz will come off of the platform. Weyloz will deal constant AOE damage at this point. You need to continuously run Syphoning orbs to him. Failure to do this will result in more AOE damage being put out.
Drekanoth of Fate (4.0 Million HP on Normal Mode; 8.0 Million HP on Hard Mode)
Particle Pulse: This is a 5 second cast that shoots particles at a player. This can be interrupted and needs to be. Each particle will deal approximately 5-10K damage.
Zone of Death: Approx. 2 Second cast that lays down a red cone AOE. Be out of this or you will take heavy Damage.
Zone of Life: The opposite of Zone of Death. The entire room will be red except one safe cone (Pie Slice). Be in the slice.
Channel Phase: Drekanoth will channel to one of the pillars around the room. During this phase, you will need to go into the GREEN portals that spawn and kick down the eggs inside. Right click on the portal to go in. See images for reference. Right click on the WHITE portals to come back out. For every egg that isn't kicked over, a blob add will spawn. This add will lay down purple ground AOES that deal damage.
Scorching Light: A 6 second cast. You will need to LoS the boss behind the pillar that spawns (See images for reference).
Finric (4.0 Million HP on Normal Mode; 8.0 Million on Hard Mode)
Brutal Swell: 3 Second cast by Finric. You need to jump over the expanding circle on the ground at the end of the cast. Failure to do so results in heavy damage.
DoT: Finric places a DoT on players. This needs to be cleansed if possible. If not, heal through it. It is not heavy damage.
Bubbles: Finric will emote "My Fury will Rain Down Upon You!". This is a 20 second channel in which bubbles will spawn on the ground. You need to be inside one of these bubbles for the duration of the cast. You are immune to fire AOEs in the bubbles.
Fire AOEs: Finric will place AOEs on players. You need to be out of these.
Blue Orbs: Blue orbs emanate from Finric through the water. Avoid these as they can do moderate damage.
Rejuvenation: Finric will cast this 30 second channel randomly throughout the fight. During this phase, coral will spawn around the room. You need to run around and kill a coral, run it to the absorption vat, and drop it off (do NOT kill more than one coral and try to drop them off!). After doing this 4 times (you only need to do this 3 times the first time, because you are given a free coral before the fight begins), someone needs to pull the lever and activate the vat. Everyone will need to be on a ground vent or an absorption vat to survive the few seconds after the lever is pulled. See the images below for reference.
Waves: At 20%, waves will spawn. They move side to side across the room. Try to avoid them, as they deal approx. 10K damage a tick.
