Tuath'de Coven
Boss List
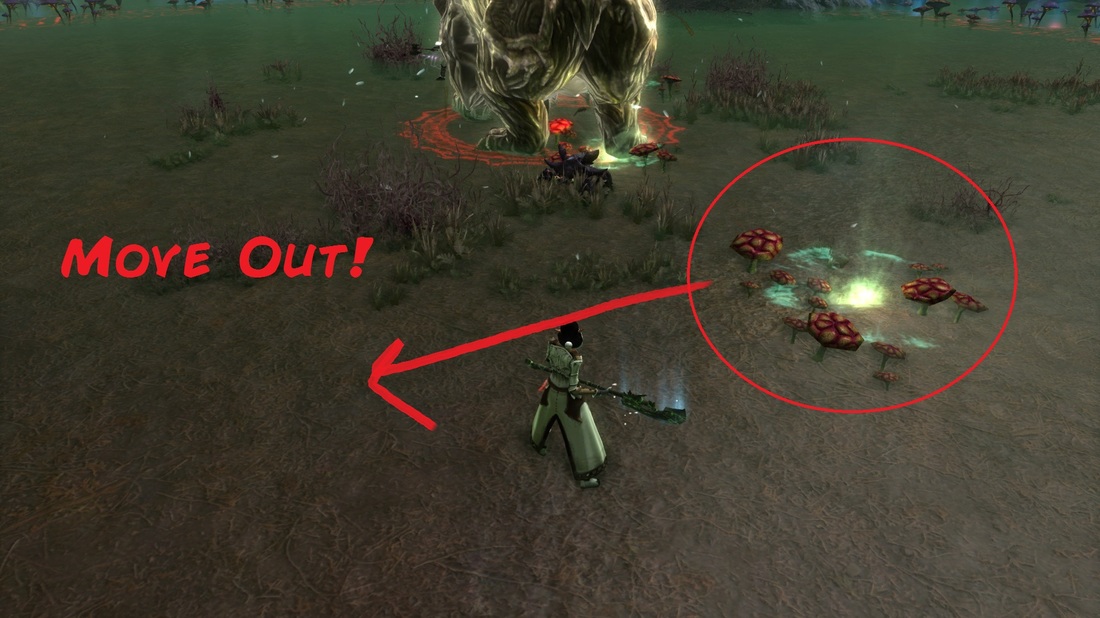
Mossclaw
Fungal Bloom: Interruptable cast. Places mushrooms under a player. Deals damage. Move out.
Wounded and Angry: Stacking buff. Deals more damage per stack. Gains a stack after each of Marsi'etha's phases.
Thundering Stomp: Interruptable cast. Deals damage and knocks back.
Fungal Growth: Deals damage and slows.
Foci Protection: Immunity to damage.
Nature's Connection: Deals damage to target and all enemies along the path.
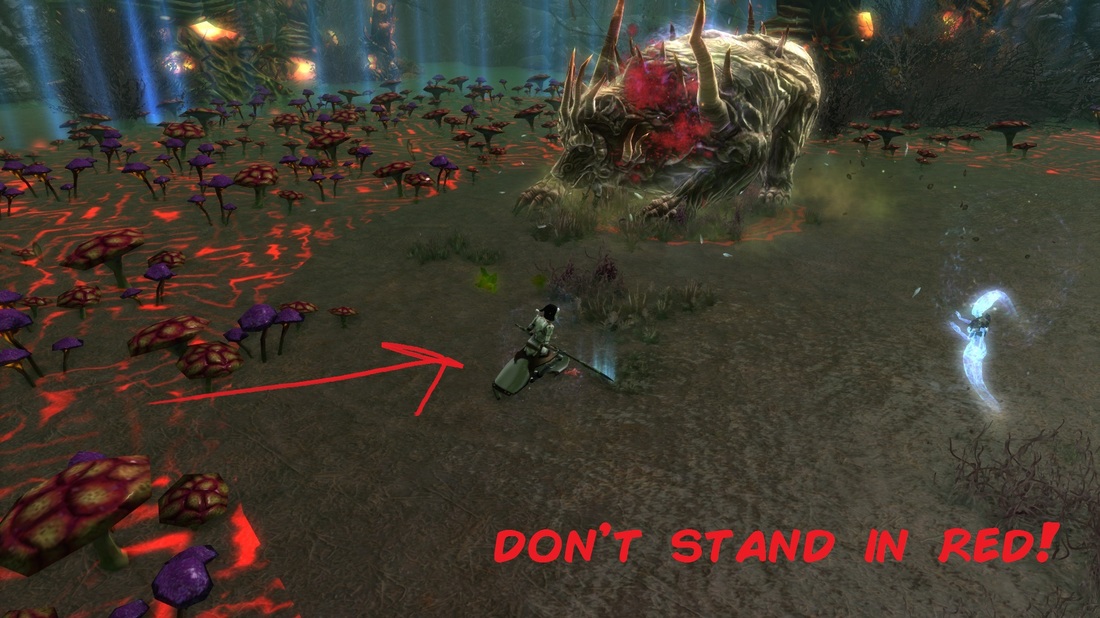
You need to fight Mossclaw until he reaches 10% health while keeping the above mechanics in mind, i.e. interrupt and stay out of AOEs. Marsi'etha will become active (she is immune to damage until that point) and you will fight her. After 20 seconds she will become immune again and the cycle repeats. DPS the bear and then her until she is dead. After each cycle the surrounding mushrooms will draw closer to the center of the area. Eventually there will be no place left to stand (which acts as a soft enrage). Keep in mind that it is advised to play a ranged (or extended melee with enough group DPS) spec because of this mechanic.
NOTE: Currently the encroaching mushrooms stop at about 2/3 the way in. This is likely due to DPS balancing that still needs to happen. Just keep your interrupts going and you'll eventually win.
Wounded and Angry: Stacking buff. Deals more damage per stack. Gains a stack after each of Marsi'etha's phases.
Thundering Stomp: Interruptable cast. Deals damage and knocks back.
Fungal Growth: Deals damage and slows.
Foci Protection: Immunity to damage.
Nature's Connection: Deals damage to target and all enemies along the path.
You need to fight Mossclaw until he reaches 10% health while keeping the above mechanics in mind, i.e. interrupt and stay out of AOEs. Marsi'etha will become active (she is immune to damage until that point) and you will fight her. After 20 seconds she will become immune again and the cycle repeats. DPS the bear and then her until she is dead. After each cycle the surrounding mushrooms will draw closer to the center of the area. Eventually there will be no place left to stand (which acts as a soft enrage). Keep in mind that it is advised to play a ranged (or extended melee with enough group DPS) spec because of this mechanic.
NOTE: Currently the encroaching mushrooms stop at about 2/3 the way in. This is likely due to DPS balancing that still needs to happen. Just keep your interrupts going and you'll eventually win.
Hollowood
Twisted Transformation: Damage mitigation buff on Hollowood. Almost immune to damage.
Release Bees: Interruptable cast. Stacking AOE debuff on the group if failed.
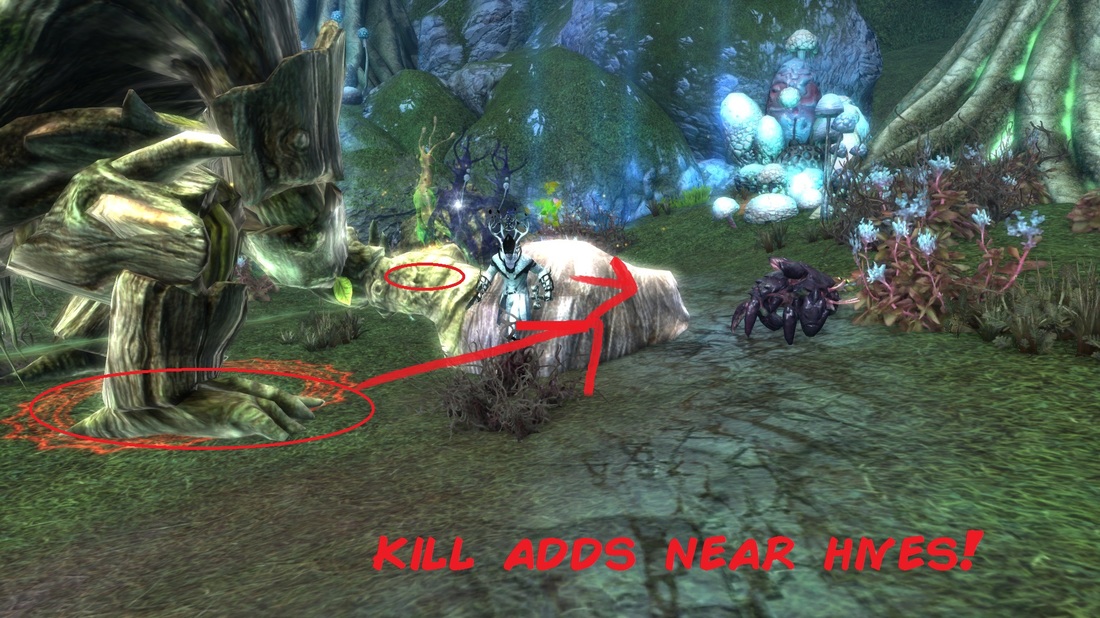
Twisted Hive: There are 6 hives around the area. Killing these does substantial damage to the boss. The are protected by Corrupting Influence.
Corrupting Influence: Immune to damage. Removed by Pure Spirit of Nature. Applied by Twisted Spirit of Nature.
[Cleave]: Frontal cleave.
Pure Spirit of Nature: Add. Spawns periodically. If killed near Twisted Hive removes Corrupting Influence.
Overpowering Blows: Interruptable cast. Deals damage.
Twisted Spirit of Nature: Add. Spawns periodically. If killed near Twisted Hive applies Corrupting Influence.
Pull the boss near the Twisted Hives (technically this is not necessary but the tank will have all the adds and they need to be there). The tank should pick up the adds when they spawn. Kill the Pure Spirit of Nature near the Twisted Hive to remove the immunity buff and kill the hive. Repeat until boss is dead. Kill Twisted Spirit of Nature if necessary (away from hives). Interrupt the boss and the adds.
Recommended Approach:
If your healer is strong enough, you can have the tank stay in the middle with Hollowood while the damage dealers pull a green add to the hive. Requires that the tank only aggros the blue spirits. This is a much more cleaner way of doing the fight but requires more coordination from the entire group. The tank should focus on interrupting Release Bees.
Release Bees: Interruptable cast. Stacking AOE debuff on the group if failed.
Twisted Hive: There are 6 hives around the area. Killing these does substantial damage to the boss. The are protected by Corrupting Influence.
Corrupting Influence: Immune to damage. Removed by Pure Spirit of Nature. Applied by Twisted Spirit of Nature.
[Cleave]: Frontal cleave.
Pure Spirit of Nature: Add. Spawns periodically. If killed near Twisted Hive removes Corrupting Influence.
Overpowering Blows: Interruptable cast. Deals damage.
Twisted Spirit of Nature: Add. Spawns periodically. If killed near Twisted Hive applies Corrupting Influence.
Pull the boss near the Twisted Hives (technically this is not necessary but the tank will have all the adds and they need to be there). The tank should pick up the adds when they spawn. Kill the Pure Spirit of Nature near the Twisted Hive to remove the immunity buff and kill the hive. Repeat until boss is dead. Kill Twisted Spirit of Nature if necessary (away from hives). Interrupt the boss and the adds.
Recommended Approach:
If your healer is strong enough, you can have the tank stay in the middle with Hollowood while the damage dealers pull a green add to the hive. Requires that the tank only aggros the blue spirits. This is a much more cleaner way of doing the fight but requires more coordination from the entire group. The tank should focus on interrupting Release Bees.
Lanaria
Grace of the Unicorn: Immuniy buff on Beerthaden.
Field of Purity: Deals damage if damage is taken. Buff on Beerthaden.
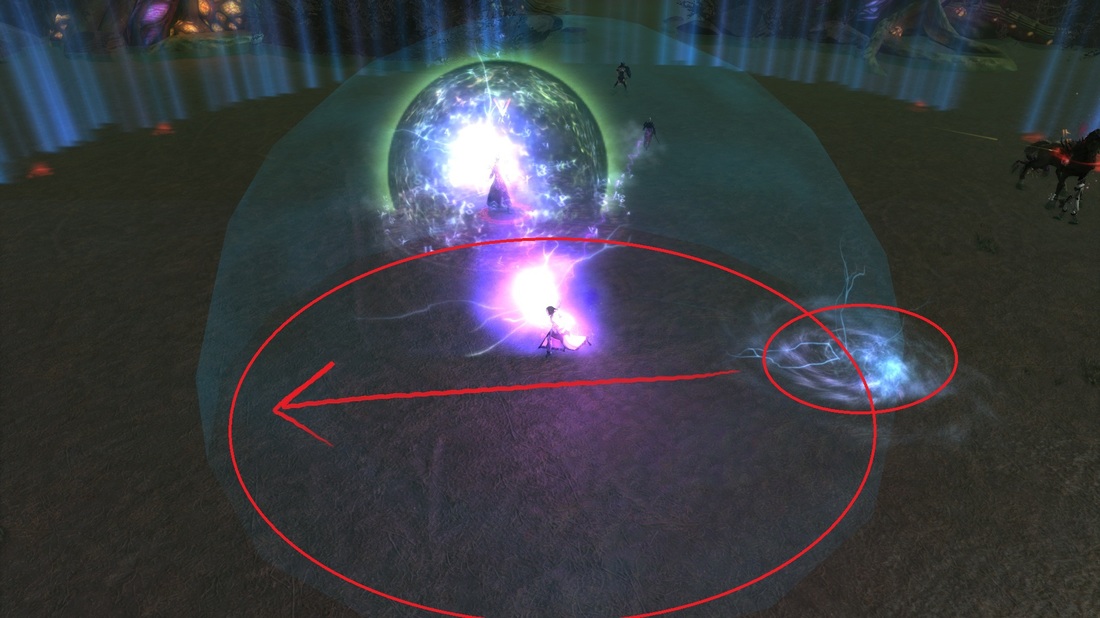
Ionized Cloud: Blue bubble AOE. Deals damage after expiration.
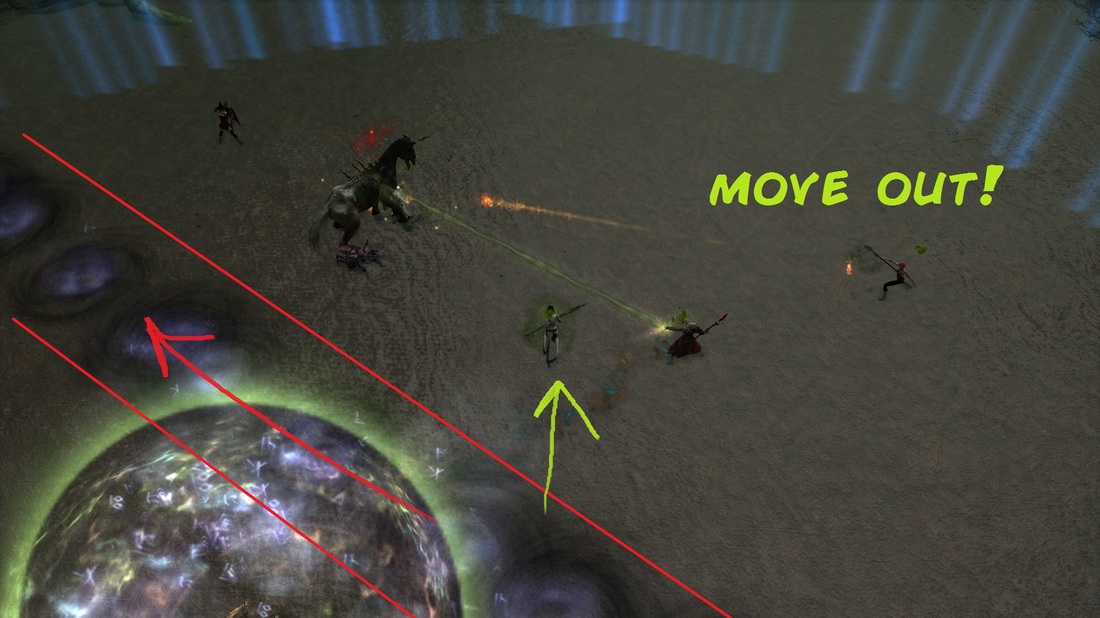
[Stampede]: Stampedes across the room, leaving small AOE circles. Move out. It will stun/slow you if it runs you over. Use mobility skills to get out.
Tether of Lanaria: Deals damage to target and along the path. Removes immunity buffs.
There are two ways of doing this encounter. Either just DPS Lanaria or use Tether of Lanaria to remove the immunity from Beerthaden.
Throughout the fight one or more players will be hit with Ionized Cloud. Spread to avoid damaging your group.
Field of Purity: Deals damage if damage is taken. Buff on Beerthaden.
Ionized Cloud: Blue bubble AOE. Deals damage after expiration.
[Stampede]: Stampedes across the room, leaving small AOE circles. Move out. It will stun/slow you if it runs you over. Use mobility skills to get out.
Tether of Lanaria: Deals damage to target and along the path. Removes immunity buffs.
There are two ways of doing this encounter. Either just DPS Lanaria or use Tether of Lanaria to remove the immunity from Beerthaden.
Throughout the fight one or more players will be hit with Ionized Cloud. Spread to avoid damaging your group.
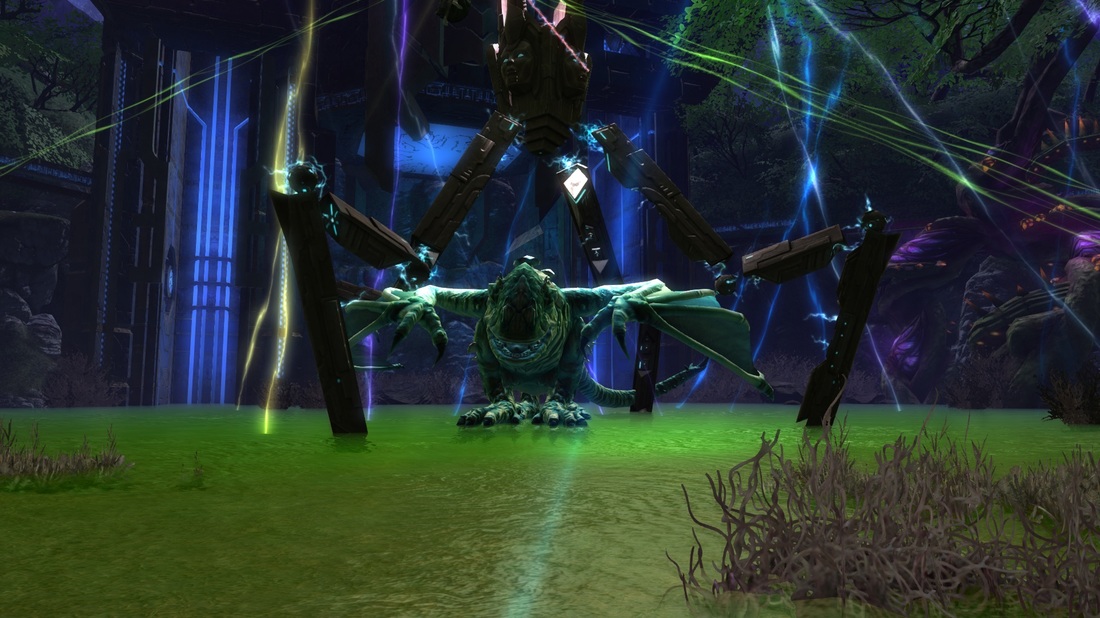
Simulacrum of Nathairacha
Poison Breath: Frontal AOE cone. Does damage.
Tail Swipe: Back AOE. Does damage.
Wing Buffet: Side AOE. Deals damage and knocks back.
It's a dragon. Don't stand in front of it. Don't stand behind it. Eat the damage from Wing Buffet. DPS the boss. Each witch you left alive will join the fight eventually and do some of the mechanics of their own fight. Beware of any AOE. Usually the boss dies quick enough that this isn't a big issue. You can either kill the witches to remove their mechanics or simply burn the boss. If your DPS is low it can help to kill the first witch, then ignore the other two.